On this page you can find description of a xyz mapping stage that I designed and build for my studies of coupled microcavities.
The stage allows for precise positioning of a microscope objective over a sample. The stage movement is 8 cm in X and Y (planar) direction with a resolution of 0.625 um (4 mm / 200 steps / 32 microsteps) and 15 mm in Z (vertical) direciton with a resolution of 39 nm (0.25 mm / 200 steps / 32 microsteps) . The repetability and stability of the setup were satisfactory for our measurement of micropillars, with diameters down to 1 micrometer.
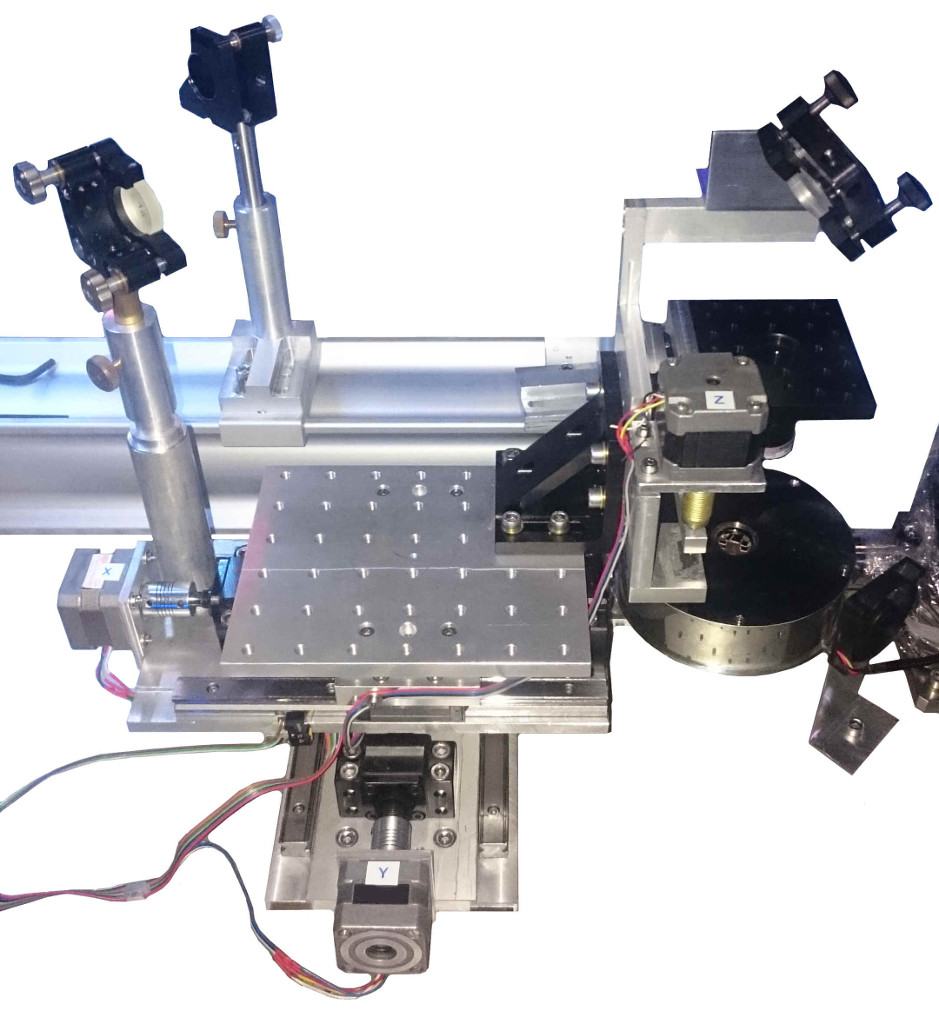
An actual XYZ mapping setup
The stage was designed using the Autodesk Inventor software. It is controlled by an electronic kit that I made myself.
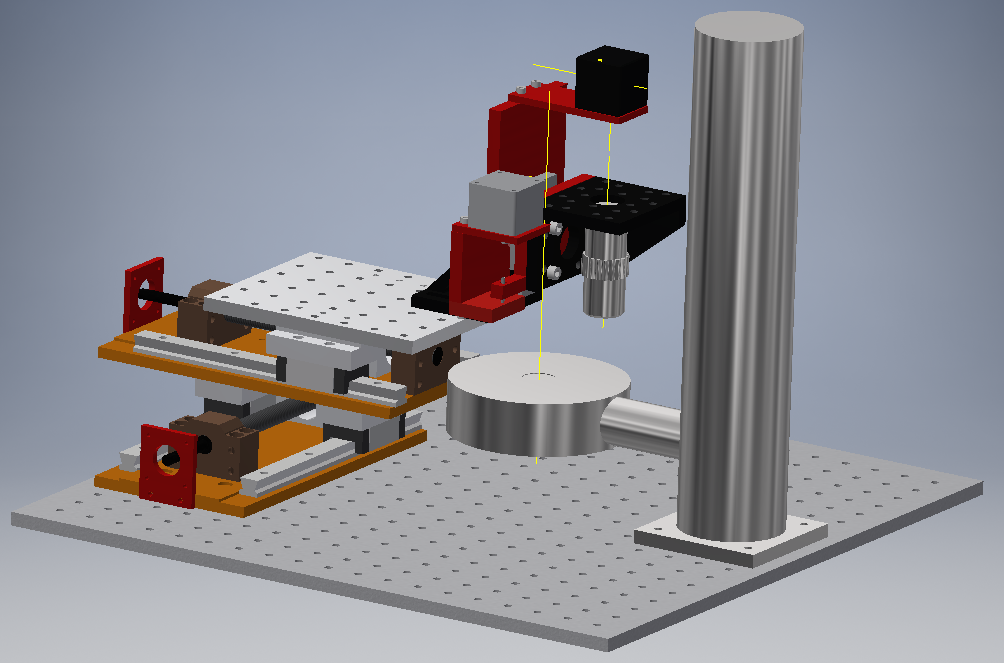
A CAD model of the setup
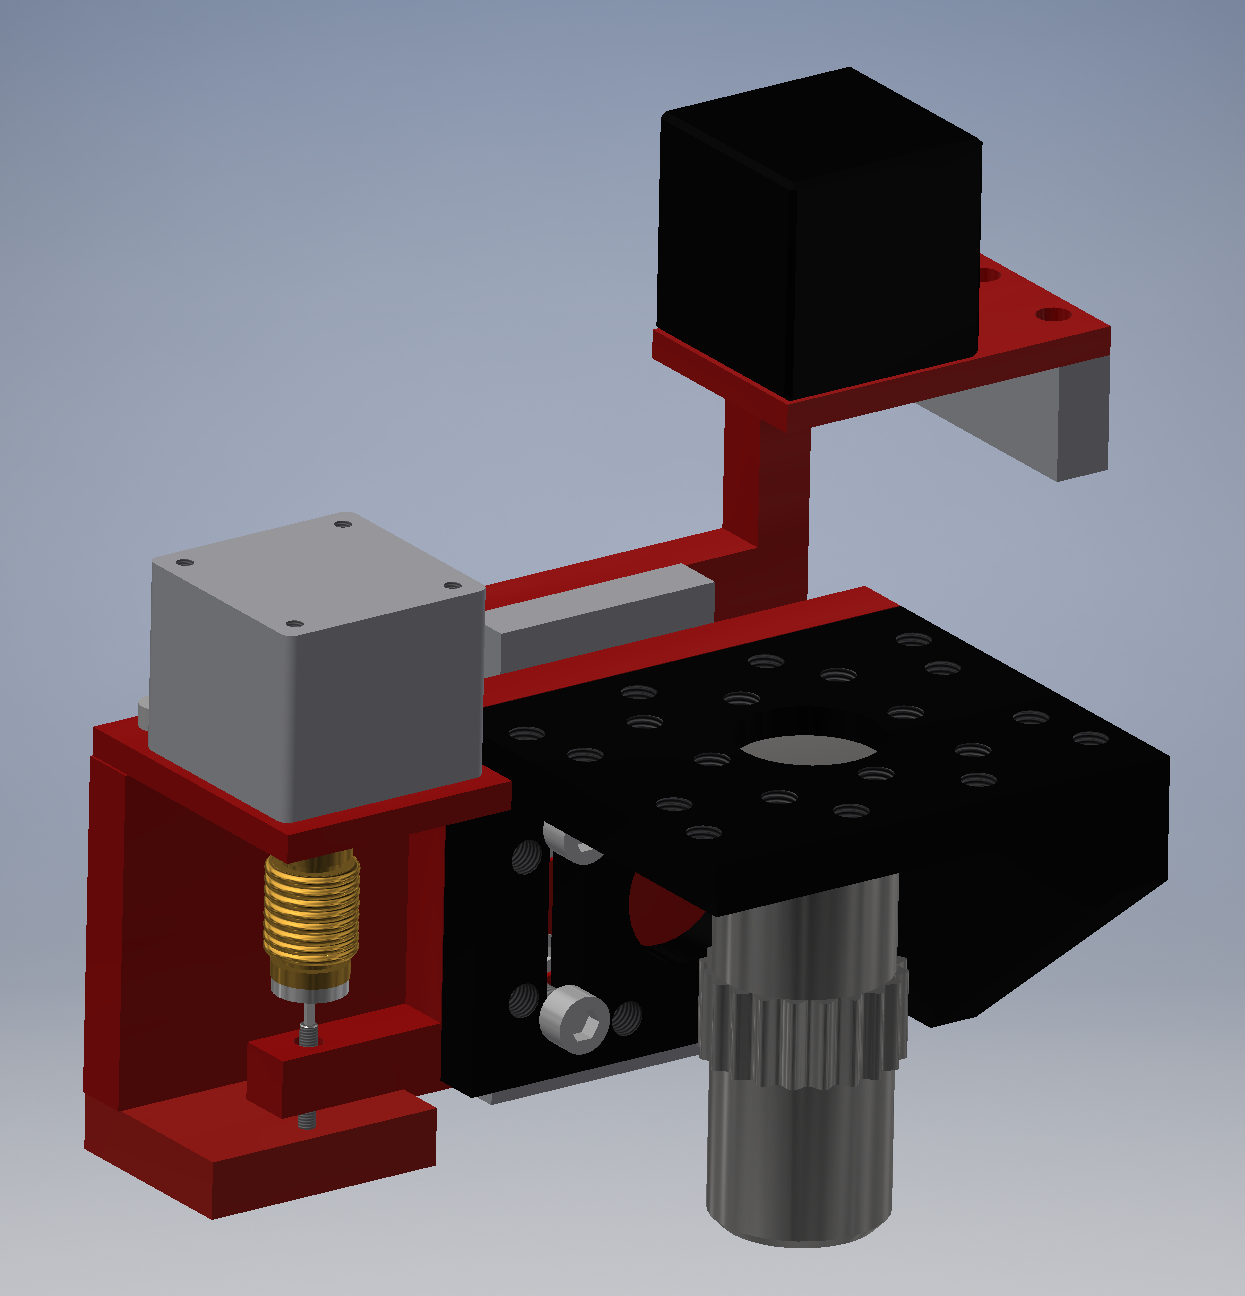
Close-up on the z-axis
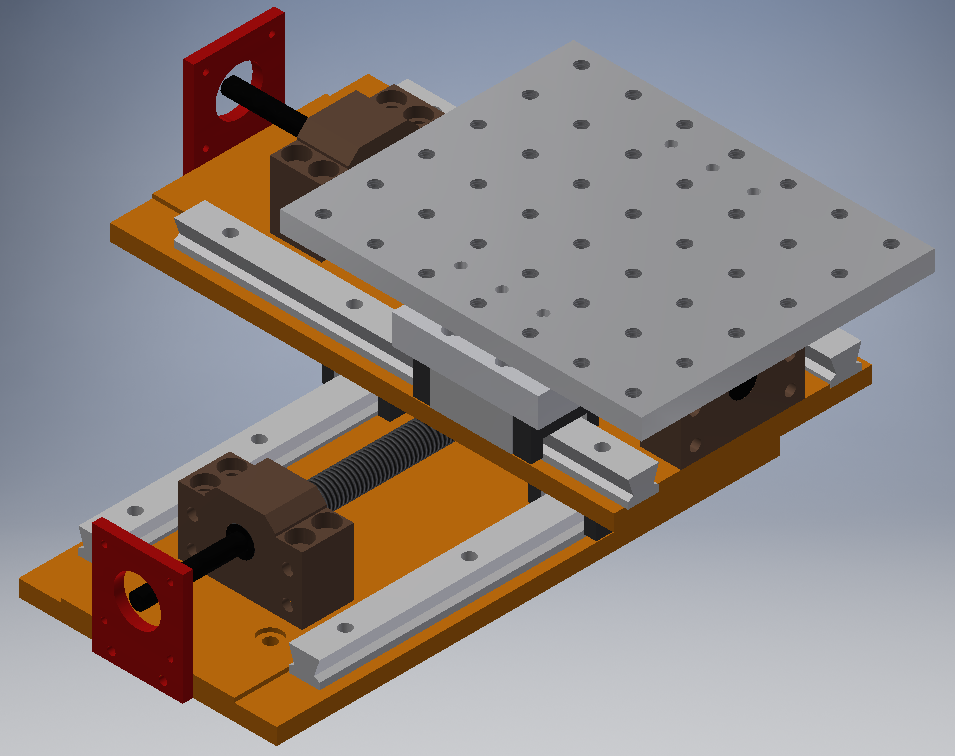
Close-up on the xy axes
Why is this setup useful you may ask. Below you can see one of the simplest results that you can obtain with this setup: pholotuminescence mapping. The photoluminescence was measured across X axis with a step size of 0.05 mm, for a sample 17 mm long. It's virtually impossible to perform mapping that precise, doing 340 measurement points by hand, and not making a single mistake (not to mention the time needed to do that).
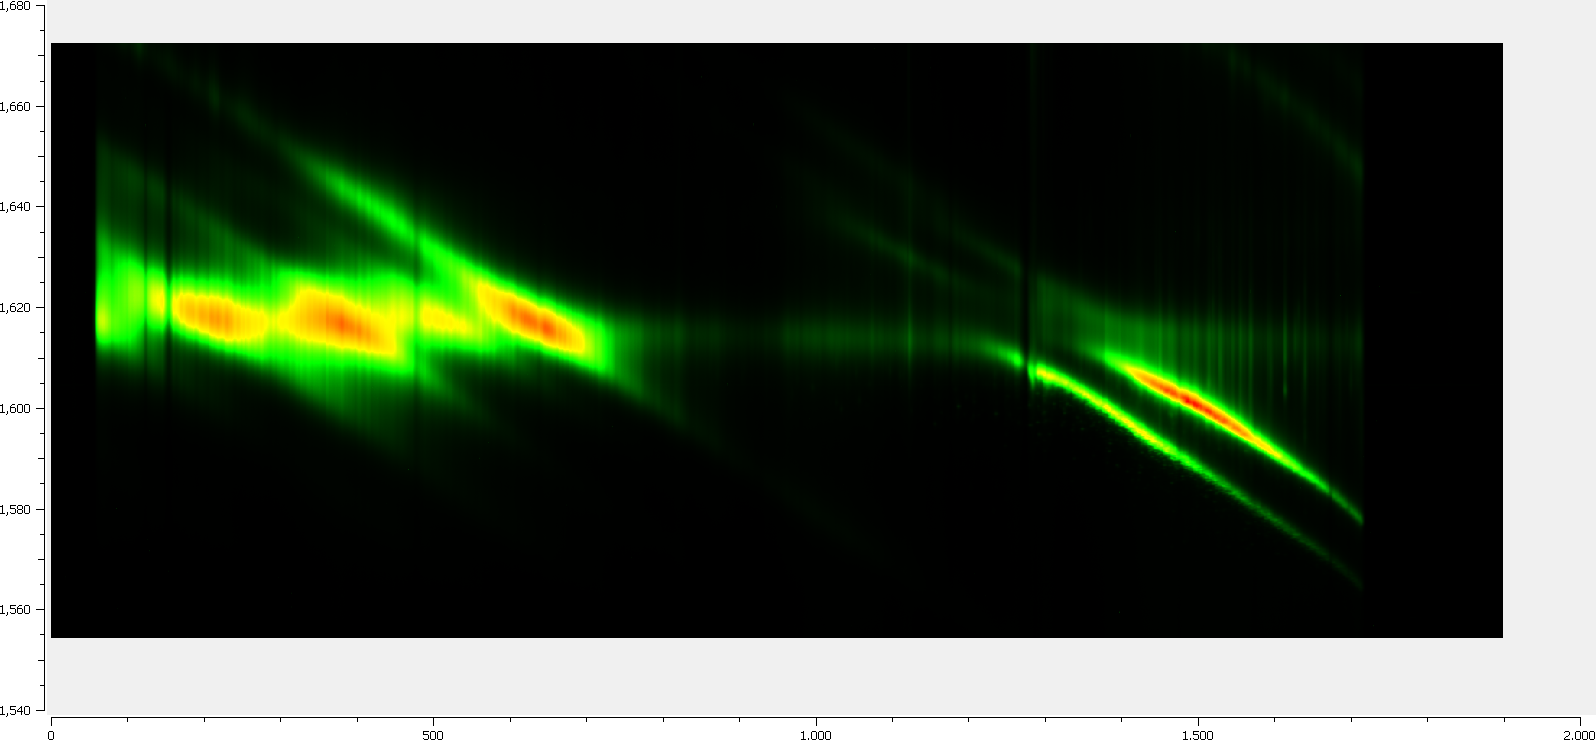
Exemplary result of photoluminescence mapping
This is exacly the reason why I build this setup. For my PhD I needed to perform a lot of such measurement on many samples whose properties changed from one point to another. Whats more, I had to perform such measurements in two dimensions (xy).
Our lab didn't have a motorised sample stage or a motorized microscope stage at that time. At first I tried collecting spectra for 160 (10 times 16) measurement points by hand. It took multiple hours, and in the end I made a few mistakes during measurements. It was a failure. It was then that I realised that either I invent something that would help me in this task or I would have to spend my entire PhD doing this measurements by hand...
Have a look at my article to see what I finaly came up with, thanks in large part to this setup.